Connecting remote devices
In order to connect and manage devices remotely, first thing you need to do is add your external camera sources to your main device.
In order to add devices as an extra camera source, follow the steps below:
- Connect devices to the same network – such as a 5G or a 4G Hotspot or a shared WiFi network. The key is they have to share a connection.
- Log in all of these devices into the same RECnGO account.
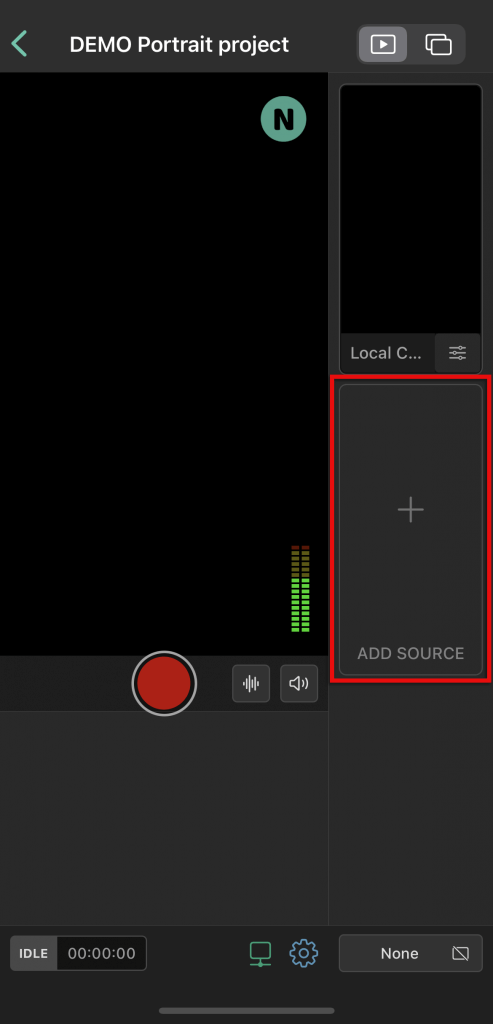
When that is done, on your main device tap on Create a New Project or tap on an existing Project you would like to add extra camera sources to. On your Dashboard, your main device’s camera feed will be visible right-away after opening the Project.
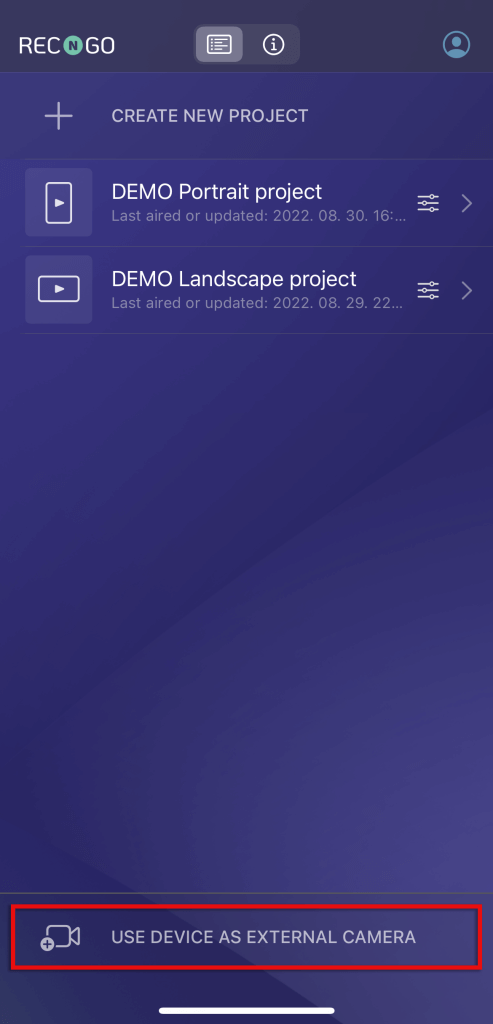
On your additional device(s), after launching the app, hit the Use Device as External Camera, you will see your camera’s feed.
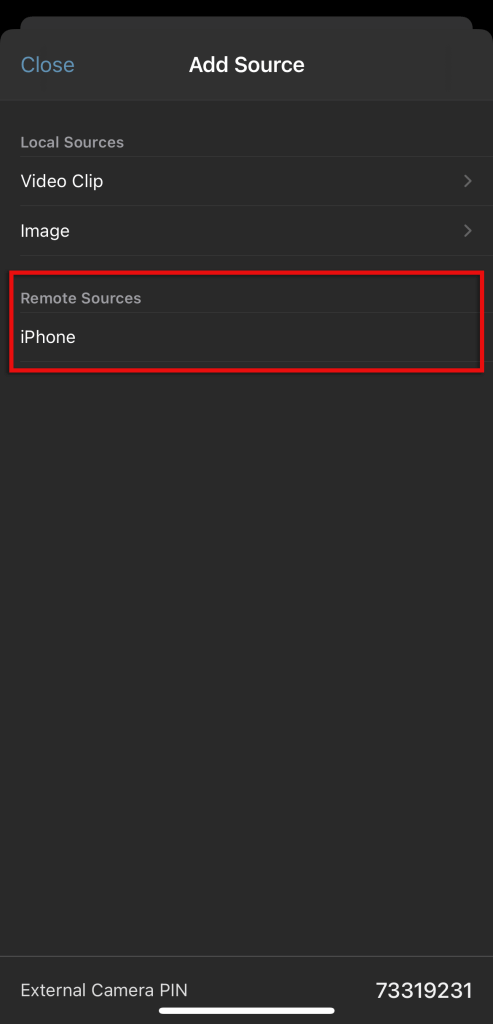
Once that is done, all you need to do is establish a connection between the devices. On your main device tap on +Add Source, under Remote your extra camera source’s name will be visible, tap on it and you will see the feed of the device right-away.
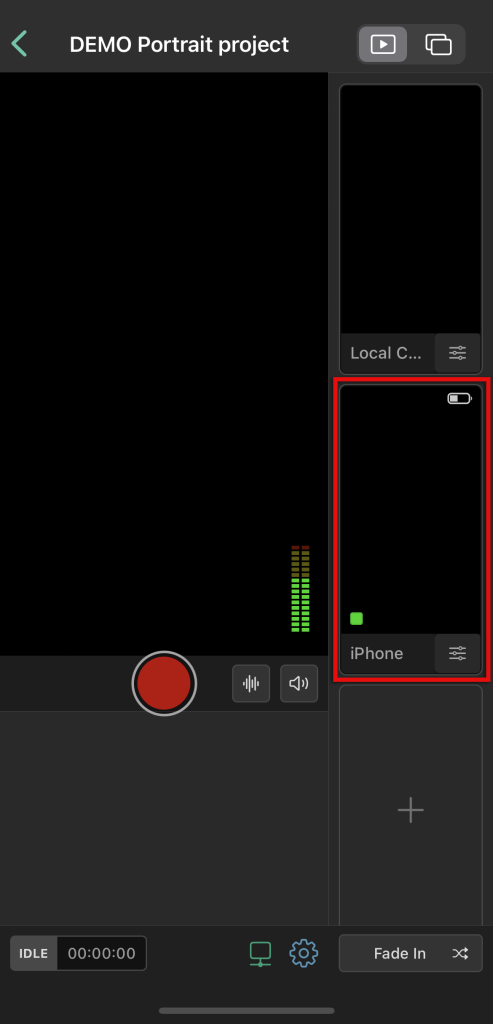
On your main device:
- Tap on the video source you would like to adjust.
- Next tap on the Settings of that video source.
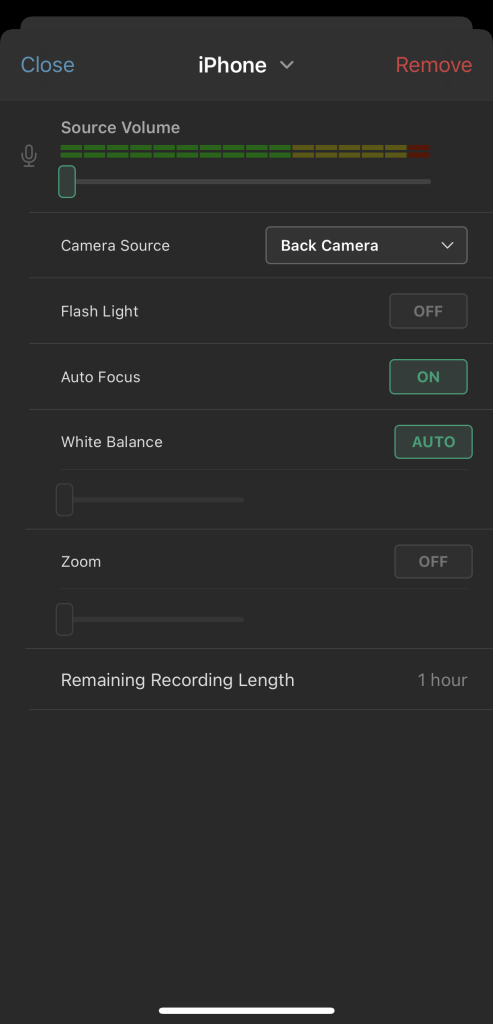
- Now you see some settings;
- Source Volume
- Camera Source – if your device has several cameras you can switch between them. For instance with some iPhone you have the Front and the Back camera and the Back Ultra Wide Camera.
- Flashlight ON/OFF.
- Autofocus ON/OFF
- White balance setting, can be Auto, or you can adjust it manually – you can set it to Shade, Daylight, Cloudy Daylight, Fluorescent, Twilight, Warm Fluorescent and Incandescent – we suggest leaving it on Auto for most applications
- Zoom – In and Out. The zoom function is quite powerful, you can zoom in up to 16x, that will allow you to show a very detailed shot.
- A great feature of RECnGO is that you can adjust the camera settings before cutting to that specific camera, which is very helpful in getting ready for a switch
